Pixelaという草APIサービスを利用して、WordPressのPV数をGitHub風に草生やしてサイドバーに表示させたい(丁寧に)
Publish date: Dec 28, 2019Tags: api cron github google-analytics pixela python wordpress %e8%8d%89
こちらのblog内容の続きです。
準備内容だとか箇条書きな感じになっているので
もう少し丁寧に書きます。
まず、GitHub風に草を生やすことができるPixela
超かわいい!!と、見た瞬間一目惚れして
ぜひこれでblogのPV数をサイドバーなどに表示させたいと思いました。
(スマホの場合は下にスクロールしてもらうと記事&検索窓の下に表示されます)
順序としては以下のとおりです。
- PixelaでユーザーとIDを作成してグラフを表示させてみる
- PV数を調べるため、対象blogにGoogleAnalyticsを導入する
- GoogleAnalytics APIを利用してjsonファイルをDLする
- PythonでjsonファイルからPixelaの求める出力ができるように整形する
- ディレクトリをサーバーなどに置いてcron実行させる
- htmlにで埋め込む
PixelaでユーザーとIDを作成してグラフを表示させてみる
https://pixe.la/
こちらのサービスですが
基本的にすべてWeb APIで構成されるサービスになるため
ユーザーやIDの登録など、設定もAPIで行います。
初めはユーザー登録からAPIで設定することにハードルの高さを感じたのですが
使ううちに、無駄がなくて洗練されているなぁと感じるようになりました。
以下の
a-know には自分の希望ユーザー名
thisissecret にはパスワードを入力します。
$ curl -X POST https://pixe.la/v1/users -d '{"token":"thisissecret", "username":"a-know", "agreeTermsOfService":"yes", "notMinor":"yes"}'
成功すると以下が表示されます。
{"message":"Success.","isSuccess":true}
test-graph には希望するID(URLに使われます)
graph-name には希望する名前
commit には希望する単位(kgやmなどでもOK)
int は、今回はPV数ということで整数を扱うのでそのままです。
shibafu には色を入力します。
green,red,blue,yellow,purple,blackから選べます。
$ curl -X POST https://pixe.la/v1/users/a-know/graphs -H 'X-USER-TOKEN:thisissecret' -d '{"id":"test-graph","name":"graph-name","unit":"commit","type":"int","color":"shibafu"}'
成功すると以下が表示されます。
{"message":"Success.","isSuccess":true}
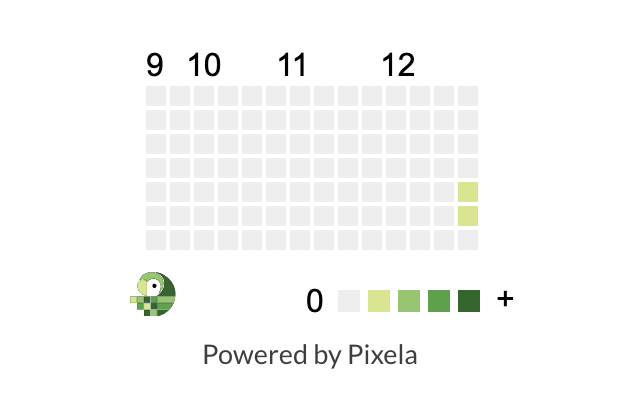
ブラウザで以下にアクセスします。
a-know にはユーザー名 test-graph にはIDを指定してください。
https://pixe.la/v1/users/a-know/graphs/test-graph
(ユーザー名にsuwa3/IDにtest-graphを指定した例)
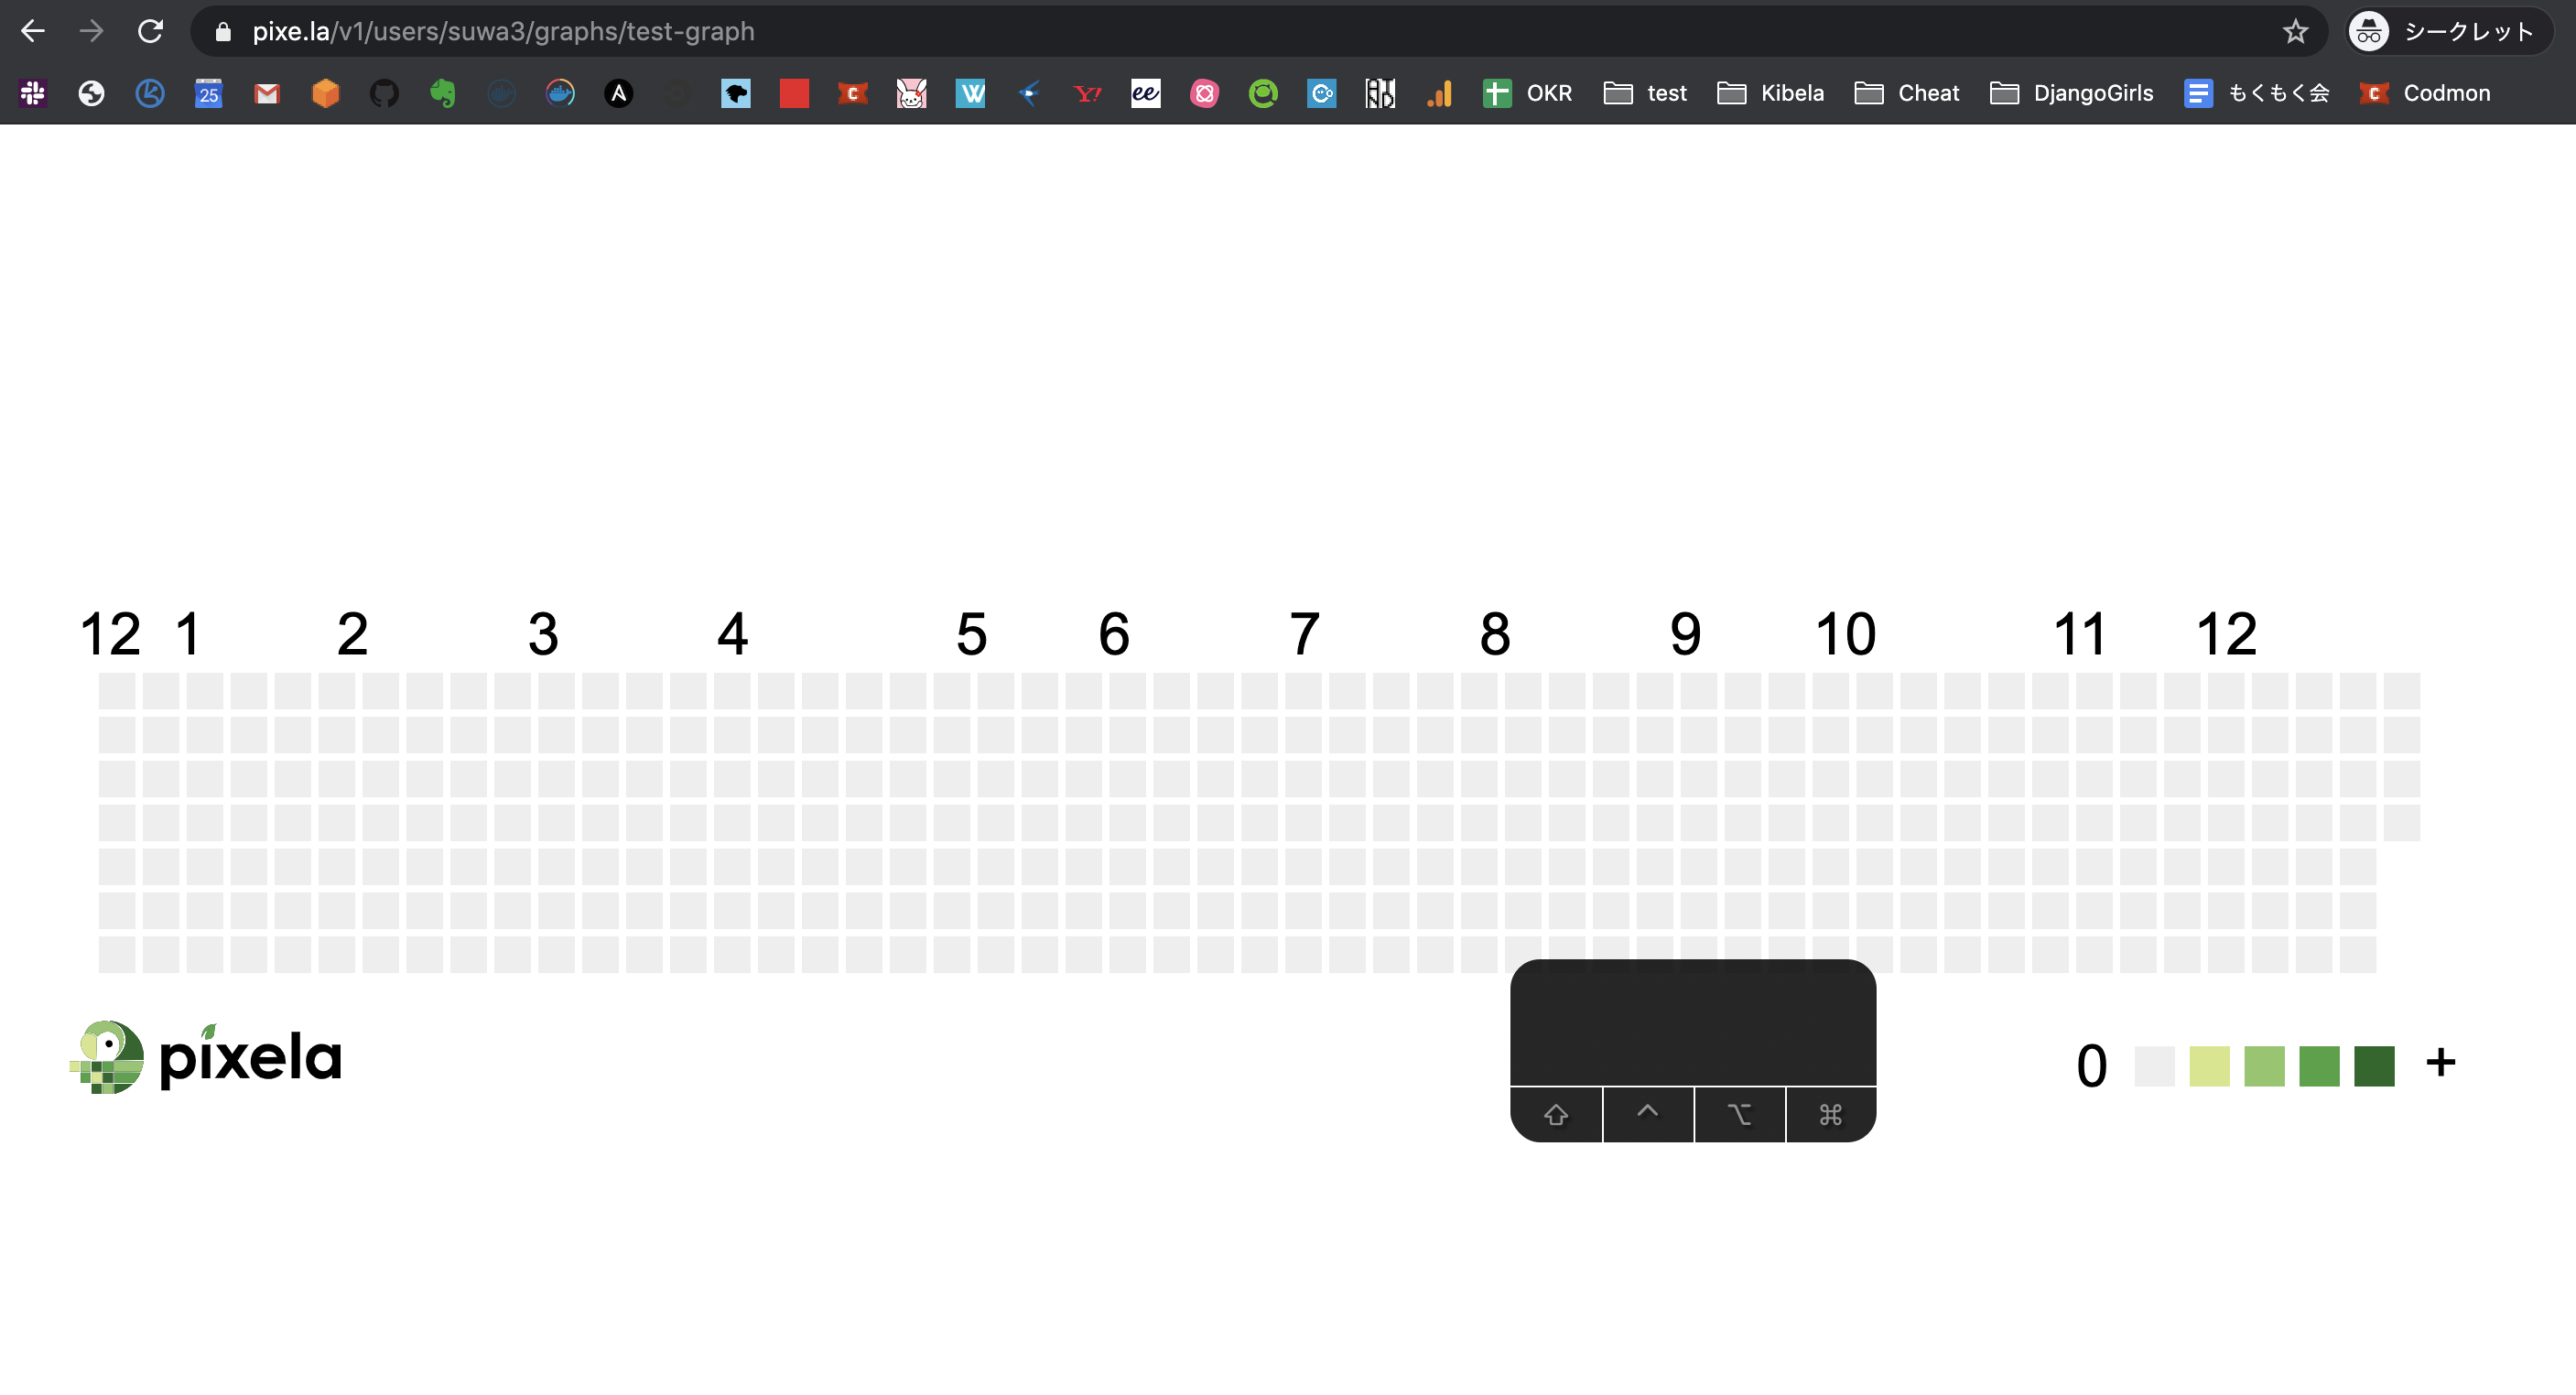
試しに草を生やしてみます。
a-know にはユーザー名
test-graph にはIDを入力します。
thisissecret にはパスワードを指定して
{"date":"20191227","quantity":"5"} には日付と、入力したい数字を指定します。
$ curl -X POST https://pixe.la/v1/users/a-know/graphs/test-graph -H 'X-USER-TOKEN:thisissecret' -d '{"date":"20191227","quantity":"5"}'
成功すると以下が表示されます。
{"message":"Success.","isSuccess":true}
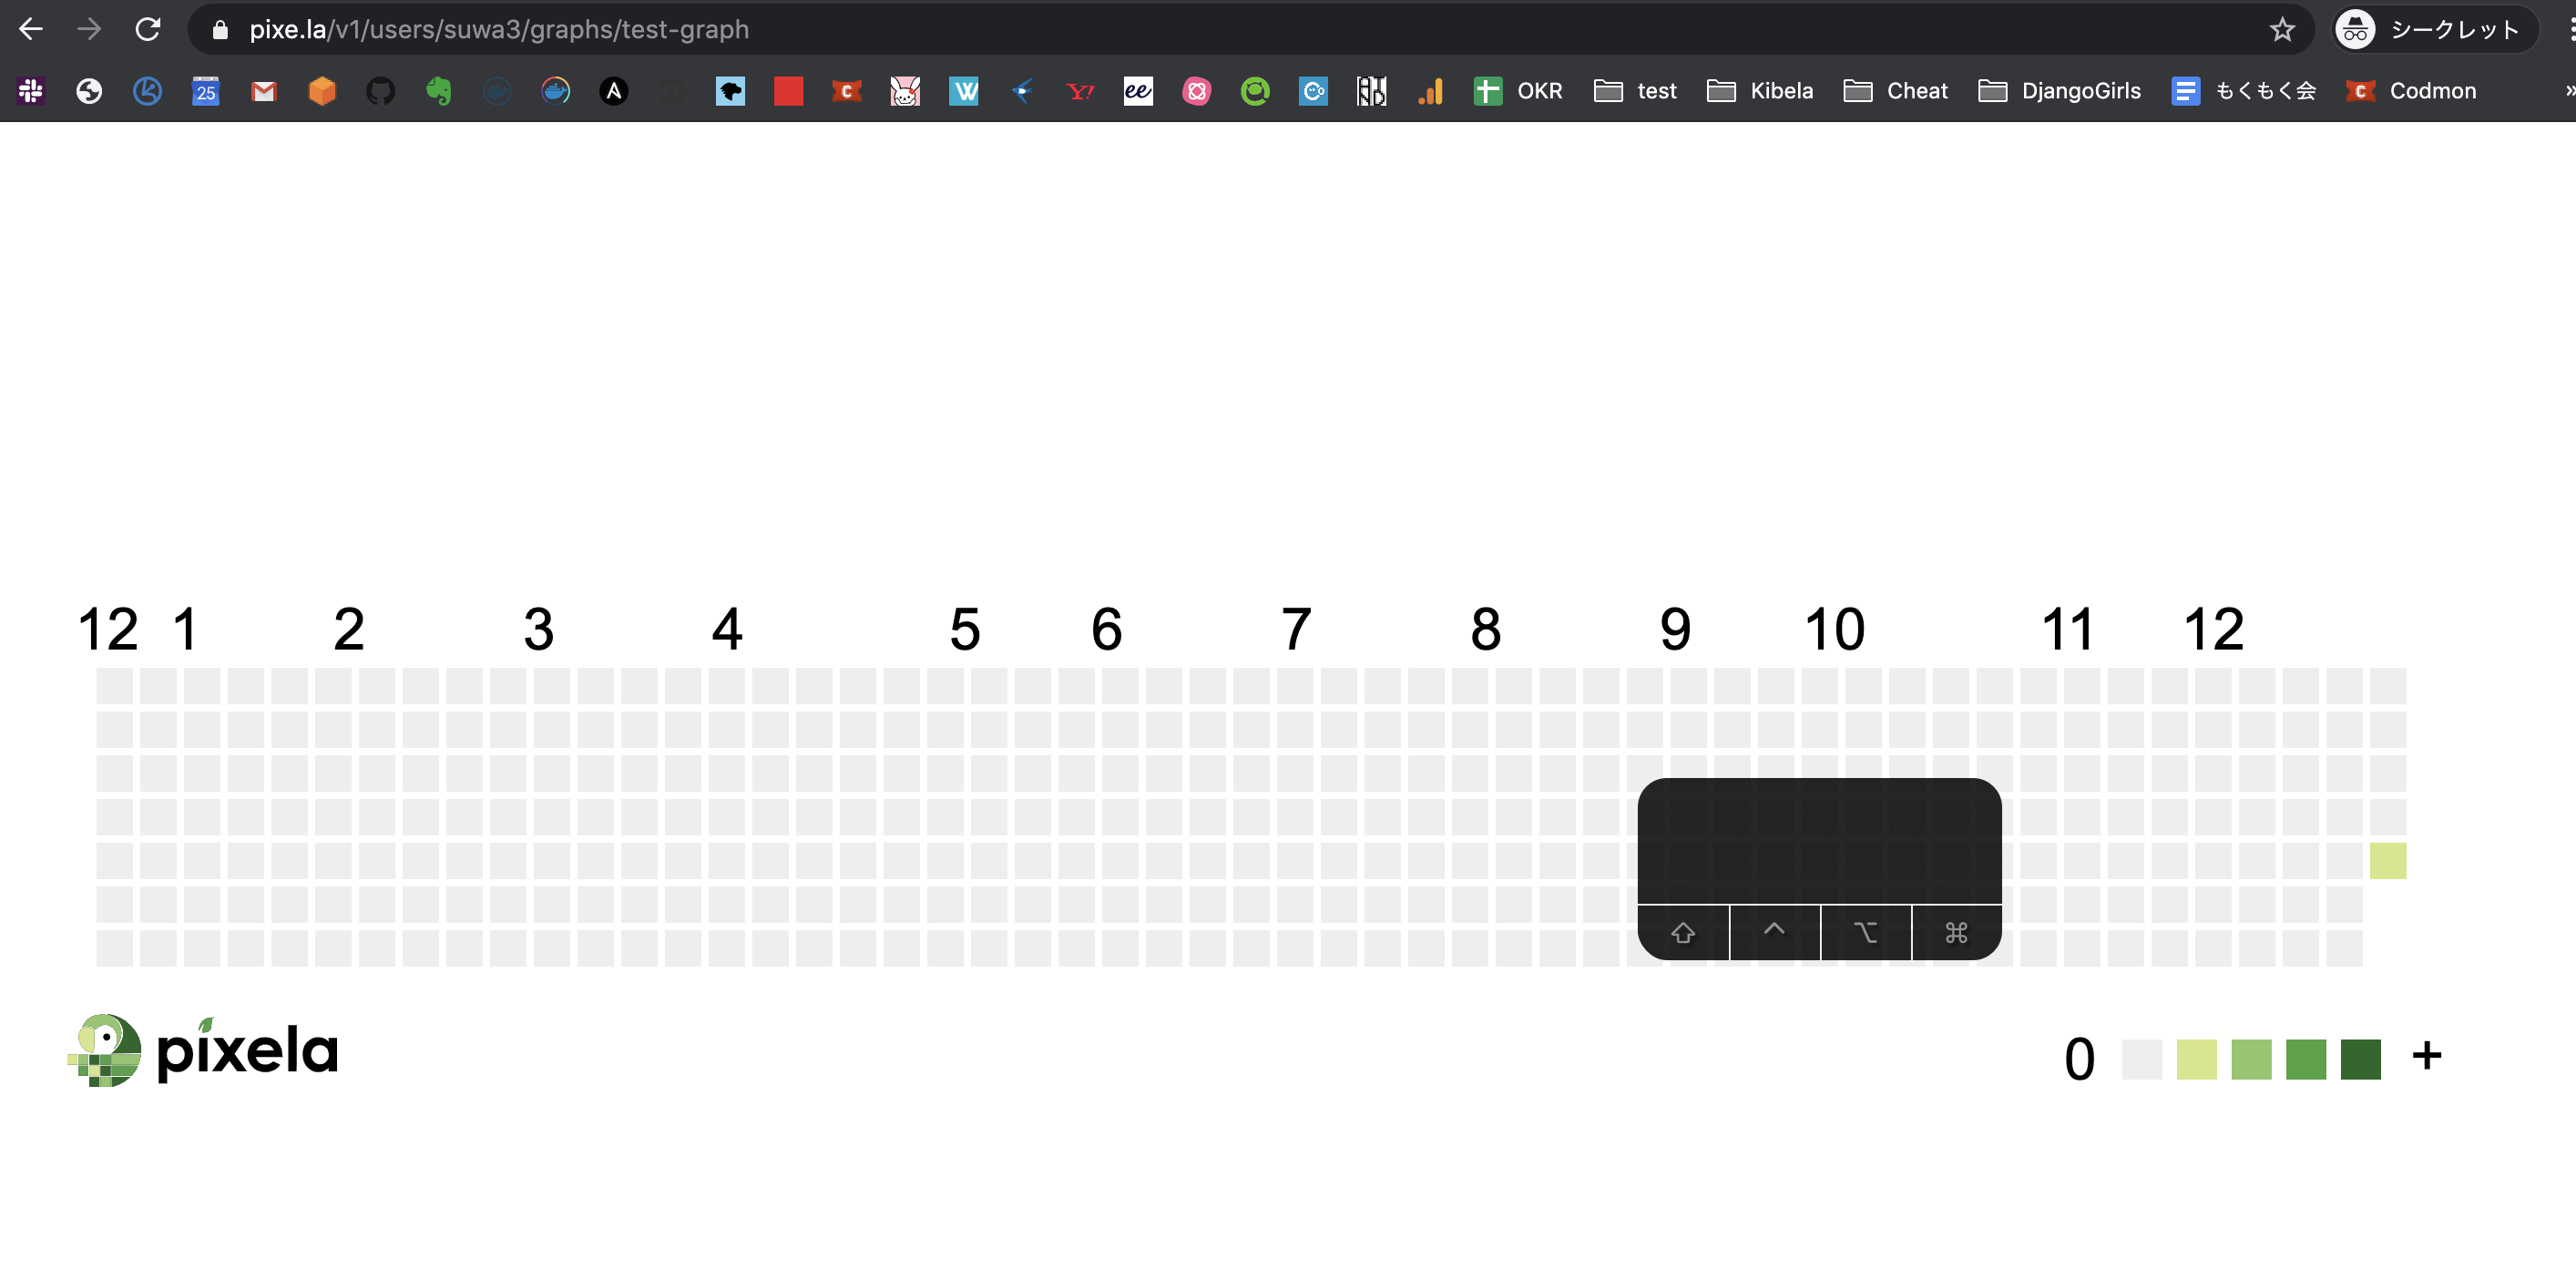
草を生やすことに成功しました👏
次はPV数を取得するために準備をします。
PV数を調べるため、対象blogにGoogleAnalyticsを導入する
GoogleAnalyticsの導入方法について詳細は割愛します。
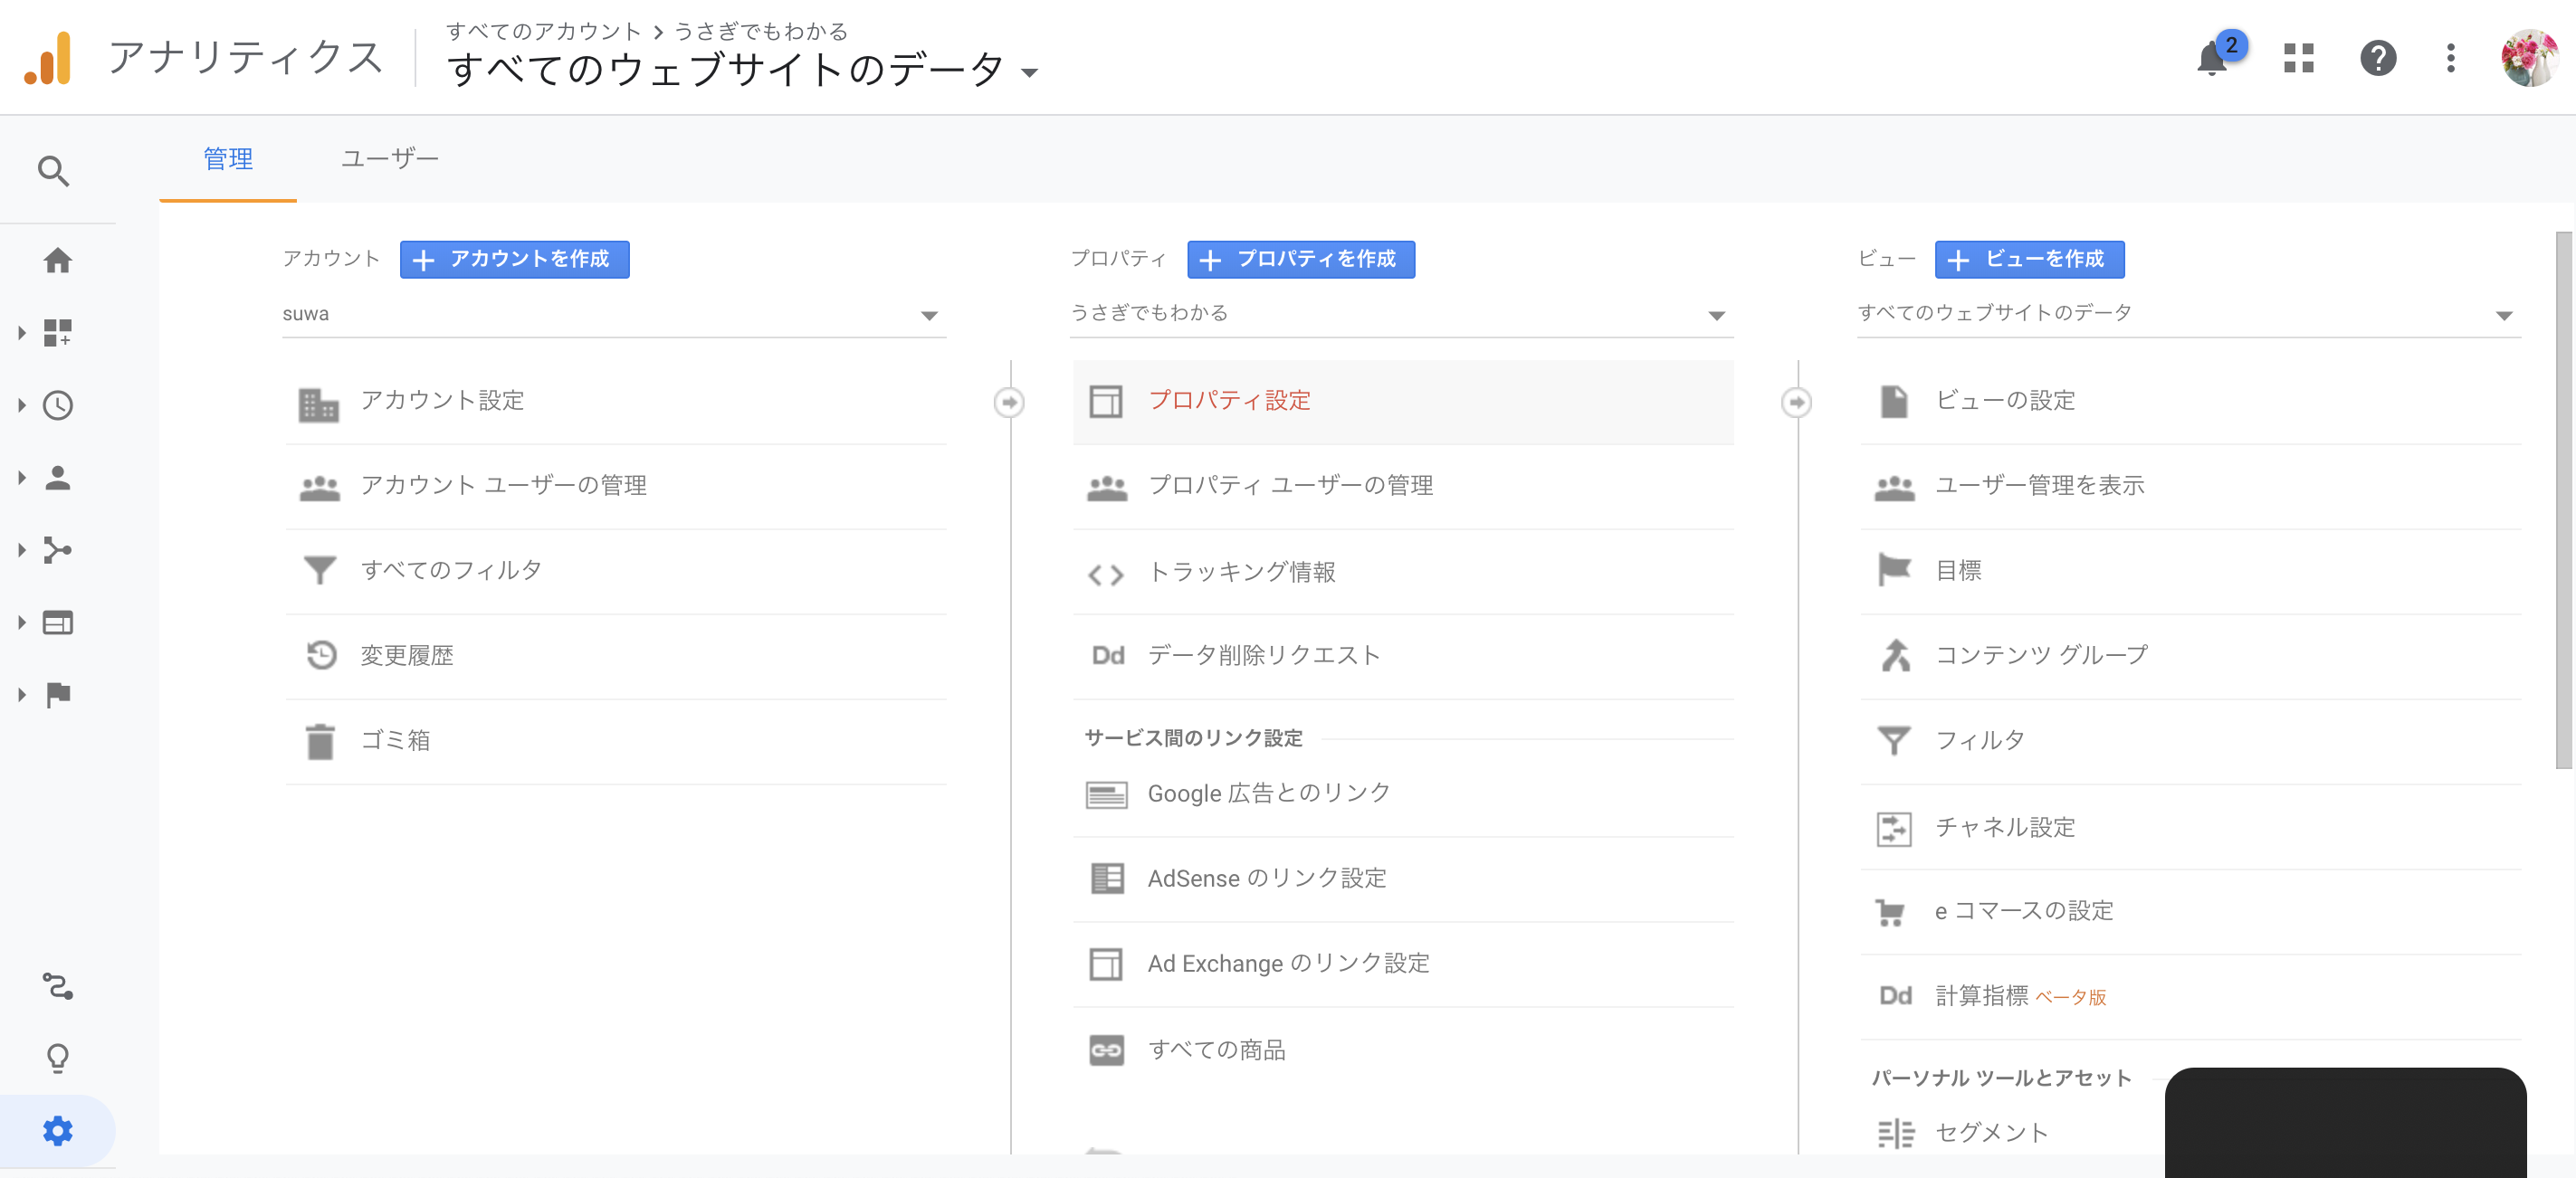
左下の歯車マークから、プロパティ設定を選択して行います。
GoogleAnalytics APIを利用してjsonファイルをDLする
GoogleAnalyticsへの登録が済んだら
GoogleAnalytics APIの設定を行います。
【PV数取得 ・ランキング作成】Google Analytics API 設定手順
基本的に↑の記事通りに進めることで設定できます。
一点のみ注意が必要なのが
サービスアカウントキーの設定時
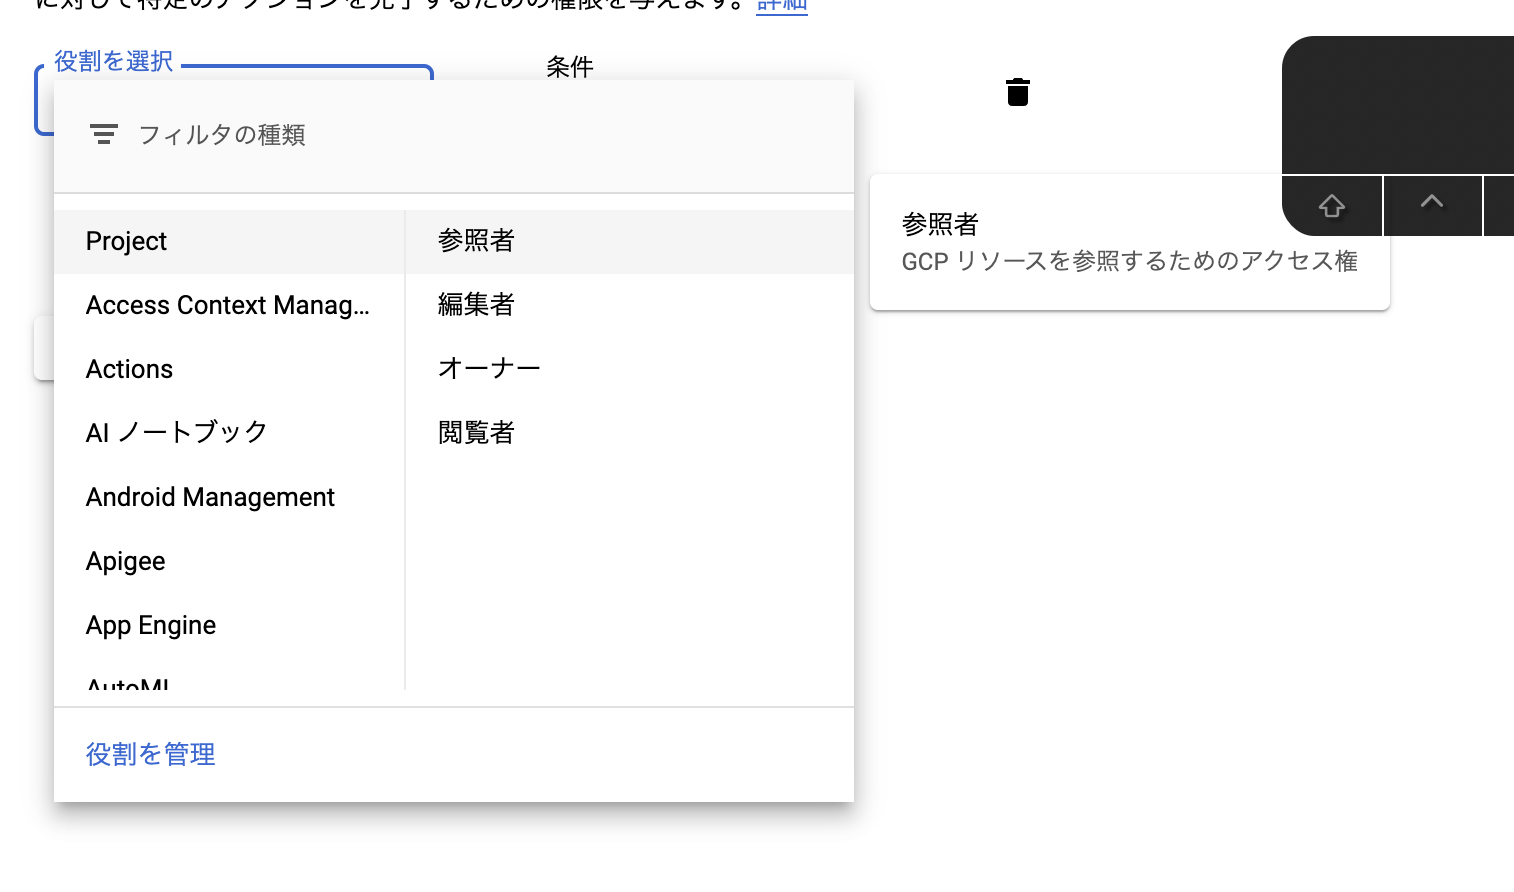
これ、閲覧者では権限が足りずに実行できなかったため
わたしは「オーナー」で登録しました。
ただセキュリティ面で考えるとダメなやつなので
各々自己責任でお願いします!
PythonでjsonファイルからPixelaの求める出力ができるように整形する
まず環境を用意します。
適当にディレクトリを掘って
$ mkdir wp-pixela
.pyファイルを作成します。
$ vim google_analytics_access.py
先程DLしたjsonファイルをDownloadsから移動してきます。
$ mv ~/Downloads/wordpress-pixela-a7b704b80f96.json ~/Ishizuka427/wp-pixela/
こんな感じです。
/wp-pixela
$ ls
google_analytics_access.py    wordpress-pixela-a7b704b80f96.json
まず、叩き台として使用したサンプルコードがこちらです。
https://developers.google.com/analytics/devguides/reporting/core/v4/quickstart/service-py?hl=j
Pythonのバージョンです。2では正常に動作しません。
$ python3 -V
Python 3.8.1
以下の依存パッケージをインストールしておきます。
- google-api-python-client
- oauth2client
- requests
pip3 install google-api-python-client oauth2client requests
実際に使用したコードがこちらです。
各々編集が必要な箇所を挙げます。
7行目: KEY_FILE_LOCATION にはjsonファイル名
8行目: VIEW_ID はGoogleAnalyticsの左下歯車をクリックすると
右上に「ビューの設定」と出るので、そこから確認します。
84行目: https://pixe.la/v1/users/<ユーザー名>/graphs/<グラフID> は、先程設定したpixelaのユーザー名とIDを指定します。
87行目: ******* にはpixelaのパスワードを指定します。
$ cat google_analytics_access.py

"""Hello Analytics Reporting API V4."""

from apiclient.discovery import build
from oauth2client.service_account import ServiceAccountCredentials

SCOPES = ['https://www.googleapis.com/auth/analytics.readonly']
KEY_FILE_LOCATION = 'wordpress-pixela-d9da7c759cf1.json'
VIEW_ID = '*******'

def initialize_analyticsreporting():
  """Initializes an Analytics Reporting API V4 service object.

  Returns:
    An authorized Analytics Reporting API V4 service object.
  """
  credentials = ServiceAccountCredentials.from_json_keyfile_name(
      KEY_FILE_LOCATION, SCOPES)

  # Build the service object.
  analytics = build('analyticsreporting', 'v4', credentials=credentials)

  return analytics

def get_report(analytics):
  """Queries the Analytics Reporting API V4.

  Args:
    analytics: An authorized Analytics Reporting API V4 service object.
  Returns:
    The Analytics Reporting API V4 response.
  """
  return analytics.reports().batchGet(
      body={
        'reportRequests': [
        {
          'viewId': VIEW_ID,
          'dateRanges': [{'startDate': 'yesterday', 'endDate': 'yesterday'}],
          'metrics': [{'expression': 'ga:sessions'}],
          'dimensions': [{'name': 'ga:country'}]
        }]
      }
  ).execute()


def print_response(response):
  """Parses and prints the Analytics Reporting API V4 response.


  Args:
    response: An Analytics Reporting API V4 response.
  """
  for report in response.get('reports', []):
    columnHeader = report.get('columnHeader', {})
    dimensionHeaders = columnHeader.get('dimensions', [])
    metricHeaders = columnHeader.get('metricHeader', {}).get('metricHeaderEntries', [])


    for row in report.get('data', {}).get('rows', []):
      dimensions = row.get('dimensions', [])
      dateRangeValues = row.get('metrics', [])


      for header, dimension in zip(dimensionHeaders, dimensions):
        print(header + ': ' + dimension)


      for i, values in enumerate(dateRangeValues):
        print('Date range: ' + str(i))
        for metricHeader, value in zip(metricHeaders, values.get('values')):
          print(metricHeader.get('name') + ': ' + value)


def main():
  analytics = initialize_analyticsreporting()
  response = get_report(analytics)
  import json
  import datetime
  import requests
  data = {
      "date": (datetime.date.today() - datetime.timedelta(days=1)).strftime("%Y%m%d"),
      "quantity": response["reports"][0]["data"]["totals"][0]["values"][0],
  }
  requests.post(
    "https://pixe.la/v1/users/<ユーザー名>/graphs/<グラフID>",
    headers={
      "Content-Type":"application/json",
      "X-USER-TOKEN":"*******",
    },
    data=json.dumps(data)
  )
  print(json.dumps(data))

if __name__ == '__main__':
  main()
ディレクトリをサーバーなどに置いてcron実行させる
ちなみに先ほど作成した
wp-pixela ディレクトリですが
jsonファイル内に秘密鍵が書いてあるので
**絶対に、GitHubなどに公開でupしてしまわないように注意してください。
**もしupするのであればプライベートリポジトリか
公開するのであれば丁寧に環境変数などで隠すか
雑に消すなどで対応してください。
ディレクトリをサーバーなどに置いてcron実行させます。
管理が煩雑にならなければローカルホストでもOKです。
わたしは自鯖に置きました。
mkdir /opt/wp−pixela
/wp-pixela
$ ls
google_analytics_access.py    wordpress-pixela-a7b704b80f96.json
$ python3 -V
Python 3.6.8
ローカルとPythonのバージョン違いますが、テストしたら動いたのでOKです。
pip3 install google-api-python-client oauth2client requests
crontabの設定です。
皆さんはきちんとユーザー整備してください。
$ sudo su -
# crontab -e
0 2 * * * cd /opt/wp-pixela && python3 google_analytics_access.py
htmlにで埋め込む
WordPressではウィジェットにカスタムHTMLがあるのですが
基本的にはHTMLに以下を貼り付けることで表示されます。
ショートサイズなのでサイドバー向けです。
<iframe src="https://pixe.la/v1/users/<ユーザー名>/graphs/<グラフID>?mode=short"></iframe>
ロングサイズ用もついでに貼ります。
<iframe src="https://pixe.la/v1/users/<ユーザー名>/graphs/<グラフID>.html?mode=simple" height="155" width="720" frameborder="0"></iframe>

サイドバーに表示させることができました👏